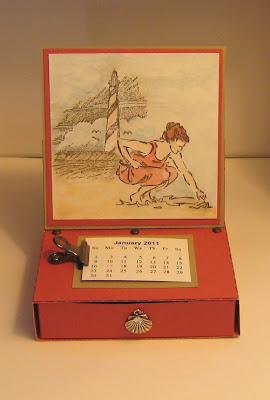


Here is the box I told you about the other day. The box is going to have Hershey's Kisses in it (like the example) when I find the package in the store that has the red, pink and silver ones for Valentine's Day. So that will fit with the "hugs and kisses" stamp on top! I made the box from a freebie on "Connie and Mary's" Blog. I am not real familiar with them but I saw a blog that posted this box and she was the guest designer and had a link to the directions,
which is here. It was pretty easy to make but I think it could be made using less paper. Almost the entire box has double walls. Which I suppose is a good thing if you need it to support something heavier. I only did two layers for the lid, she did three - I think it is a way to sell more SU paper LOL! I don't like to waste :) but then again I tend to be too skimpy so choose your poison as they say. I made this for my hubby so I tried to not make it too feminine or with too many hearts etc. That is about all on the box, I suppose you could decorate the front and sides, maybe put some more designer paper, flowers, die cuts, you know embellish it :) This was my first attempt and it went pretty quick and easy. So there you have it, a nice box you can use for many different types of gifts!
This is another basket like the one I posted a few days ago, made the same way but using some Valentine's paper. I die cut some hearts and flowers and decorated it with them, just wanted to show you another one.


